Installing Motion Detector Outdoor Lights: Enhancing Home Safety and Convenience
Motion detector outdoor lights are a smart and effective way to deter intruders, illuminate walkways, and enhance the overall security of your home. These lights automatically switch on when they detect movement, providing a deterrent to potential burglars and helping you navigate your outdoor spaces safely at night.
Installing motion detector outdoor lights involves a few key steps that you can easily handle on your own with proper care and preparation. Here's a comprehensive guide to assist you:
1. Choose the Right Location
The placement of your motion detector light is crucial for its effectiveness. Ideal locations include areas with high foot traffic, such as entrances, driveways, and pathways. Make sure the light will cover the desired area without being obstructed by walls, trees, or other objects.
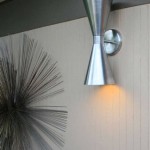
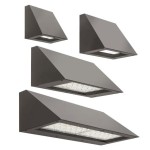
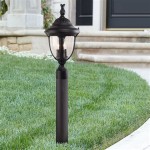
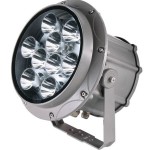
2. Select the Appropriate Fixture
Motion detector outdoor lights are available in various designs and styles. Choose a fixture that complements the aesthetic of your home and provides the desired level of illumination. Consider the brightness, range of motion, and field of view of the light to ensure it meets your specific needs.
3. Prepare the Electrical Supply
Before installing the light, verify that you have an electrical supply available at the chosen location. If necessary, hire an electrician to run a wire from your main electrical panel or junction box to the installation site.
4. Mount the Fixture
Follow the manufacturer's instructions to properly mount the light fixture. Use sturdy screws or bolts to secure it firmly to the wall or surface. Ensure that the light is level and angled correctly to cover the desired area.
5. Connect the Wiring
Connect the wires from the light fixture to the electrical supply. Typically, there will be three wires: black (live), white (neutral), and green or bare (ground). Match the colors accordingly and secure the connections with wire nuts.
6. Activate the Motion Sensor
Once the light is connected, activate the motion sensor. Most lights have adjustable settings for sensitivity, time delay, and range of motion. Adjust these settings based on your preferences and the desired functionality of the light.
7. Test and Enjoy
Test the motion detector light to ensure it works properly. Manually trigger the sensor by moving within its range and observe if the light turns on. Adjust the settings further if necessary to optimize its performance.
Properly installed motion detector outdoor lights provide numerous benefits, such as increased safety, convenience, and reduced energy consumption. By following these guidelines, you can enhance your home's security and enjoy the added convenience of automated lighting.

Installing A Remote Motion Detector For Lighting Diy

How To Wire Motion Sensor Occupancy Sensors

How To Wire Occupancy Sensor And Motion Detectors

How To Wire Occupancy Sensor And Motion Detectors

How To Install An Exterior Motion Sensor Light Home Security Tips Lights

How To Install A Motion Sensor Light Four Generations One Roof

Motion Sensor Lighting For Elderly Homeowners

Benefits Of Having Motion Sensor Lights Around Your Home

How To Add A Motion Sensor Your Existing Outdoor Lights In 15 Minutes 24 7 Home Security

Motion Sensor Lights Outdoor Light