DIY Low Voltage Outdoor Lighting Installation: A Comprehensive Guide
Transform your outdoor space into a captivating oasis with the allure of low voltage lighting. Installing these fixtures yourself is a rewarding endeavor that can elevate your property's ambiance and enhance safety. This comprehensive guide will equip you with the essential knowledge and step-by-step instructions to illuminate your exterior with ease.
Materials and Equipment
Before embarking on your installation, gather the necessary materials and equipment: low voltage light fixtures, transformer, wire connectors, low voltage wire, conduit or wire protectors, drill, shovel, level, tape measure, and wire strippers.
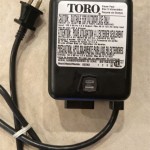
Transformer Selection
The transformer acts as the power source for your lighting system, converting household voltage to the lower voltage required by the fixtures. Choose a transformer with a wattage capacity that exceeds the total wattage of your lights to ensure sufficient power.
Wire Selection and Layout
Low voltage wire ranges from 12 to 16 gauge, with lower gauges indicating thicker wire. Select wire appropriate for the distance from the transformer to the furthest fixture. Plan the wire layout, considering pathways, obstacles, and fixture locations.
Trenching and Conduit Installation
For underground wiring, dig trenches at least 6 inches deep to accommodate the wire and any conduit or wire protectors you use. If desired, run wires through conduit for added protection against moisture and damage.
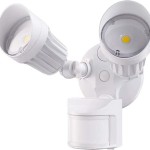
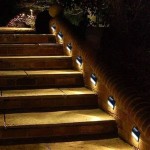
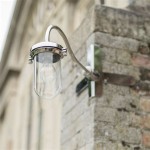
Fixture Installation
Install the light fixtures according to the manufacturer's instructions, ensuring they are level and secure. Connect the wires to the fixtures using wire connectors, ensuring a proper electrical connection.
Transformer Connection
Connect the wires from the fixtures to the transformer, taking into account polarity (matching positive to positive and negative to negative terminals). Secure the transformer in a protected location, such as a weatherproof box or electrical panel.
Testing and Troubleshooting
Once the system is complete, test all lights to ensure they are functioning correctly. If any lights do not illuminate, check for loose connections, damaged wires, or incorrect polarity.
Additional Tips
- Use waterproof wire connectors and seal them with electrical tape to prevent water damage.
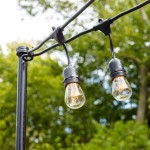
- Install fixtures at varying heights and angles to create a dynamic lighting effect.
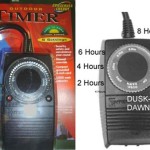
- Consider using a remote control system to control the lights conveniently from indoors.
- Consult a licensed electrician for assistance if you encounter complex wiring or safety concerns.
- Enjoy the ambiance and enhanced safety that your outdoor lighting provides.

Outdoor Low Voltage Lighting Diy Family Handyman

Louie Lighting Blog Low Voltage Landscape Install

Install Landscape Lighting For Added Curb Appeal

The Easiest Way To Install Low Voltage Landscape Lighting Abby Organizes

Planning Your Low Voltage Outdoor Landscape Lighting 1000bulbs Blog

How To Install Low Voltage Outdoor Landscape Lighting The Garden Glove

Landscape Lighting Installation In 20 Min Diy Low Voltage Floodlights

How To Install Low Voltage Outdoor Landscape Lighting The Garden Glove

The Easiest Way To Install Low Voltage Landscape Lighting Abby Organizes

Outdoor Low Voltage Lighting Diy Family Handyman
Related Posts