Essential Aspects of Wiring Outdoor Lights
Ensuring the proper wiring of outdoor lights is crucial for safety, functionality, and aesthetic appeal. Understanding the key aspects of wiring outdoor lights is essential for a successful lighting installation project. This article delves into the critical aspects that should be considered when wiring outdoor lights, providing a comprehensive guide for homeowners and professionals alike.
The following paragraphs provide detailed information on each aspect, including the tools and materials required, safety precautions, and step-by-step instructions. Whether you're a novice electrician or an experienced homeowner, this guide will empower you with the knowledge and confidence to tackle your outdoor lighting project with ease.
Essential Aspects of Wiring Outdoor Lights
1. Choosing the Right Light Fixture
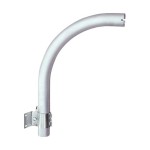
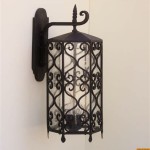
The choice of light fixture is influenced by factors such as the desired lighting effect, mounting location, and durability. Consider the type of bulb the fixture accommodates, its weather resistance, and its compatibility with your home's architectural style.
2. Determining the Power Source
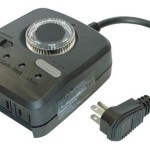
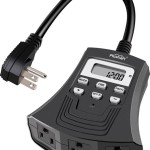
Decide whether the lights will be connected to an existing outdoor electrical outlet or require a new circuit. If a new circuit is necessary, consult an electrician to ensure safe and code-compliant installation.
3. Selecting the Appropriate Wire and Connectors
The size and type of wire used will depend on the wattage of the lights and the distance to the power source. Ensure the wire is rated for outdoor use and has the appropriate insulation. Choose connectors that match the wire size and are designed for outdoor applications.
4. Safety Considerations
Always prioritize safety when working with electricity. Turn off the power at the main panel before starting any wiring. Wear gloves and safety glasses to protect yourself from electrical shock and flying debris.
5. Laying the Wire
Plan the wire routing carefully to avoid obstacles and minimize the need for splicing. Use appropriate supports, such as wire staples or conduit, to secure the wire properly.
6. Wiring the Fixture
Follow the fixture manufacturer's instructions to connect the wires to the terminals. Ensure the connections are tight and insulated with electrical tape or wire nuts.
7. Testing the Lights
Turn on the power and verify that the lights are functioning correctly. Check for any loose connections or flickering.
Conclusion
By adhering to these essential aspects of wiring outdoor lights, you can achieve a safe, functional, and visually appealing lighting system for your outdoor space. Remember to prioritize safety, select the appropriate materials, and follow proper installation techniques to ensure a successful and long-lasting installation.

Installation Help For Outdoor Lighting

How To Install A Yard Light Post Electrical Projects Home Wiring Lights

How To Install Low Voltage Outdoor Landscape Lighting The Garden Glove

How To Wire Landscape Lights In Series On A Switch Doityourself Com Community Forums

How To Install Low Voltage Outdoor Landscape Lighting The Garden Glove

Diagrams Digramssample Diagramimages Wiringdiagramsample Wiringdiagram Check More At H Led Outdoor Lighting Security Lights Light Fixtures

Wire 4 Outdoor Lights With One Switch Diy Home Improvement Forum

Using A Cable To Hang String Lights Concord Carpenter

How To Wire Outdoor Low Voltage Lighting Part 2

How To Add Motion Sensor Outdoor Lights With Or Function Doityourself Com Community Forums
Related Posts