Essential Aspects of Wiring Outdoor Deck Lights
Installing outdoor deck lights not only enhances the aesthetics of your outdoor space but also provides safety and security during evening hours. However, before embarking on this project, it's crucial to understand the essential aspects of wiring outdoor deck lights to ensure proper functioning and prevent any electrical hazards.
Electrical Safety Precautions
Electrical work should always be approached with caution and adherence to safety regulations. Before starting any wiring, ensure you have the necessary safety equipment, such as insulated gloves and a voltage tester. Disconnect the power supply at the main electrical panel and verify that the circuit is dead before commencing any electrical work.
Selecting the Right Wires and Fixtures
Choose outdoor-rated wires and fixtures designed to withstand moisture and extreme weather conditions. Look for products with an IP rating, which indicates the level of protection against dust and water ingress. Use wires with an appropriate gauge for the wattage of the lights being installed. Thinner gauge wires are more suitable for lower wattage lights, while thicker gauge wires are required for higher wattage lights.
Planning the Wiring Layout
Plan the layout of the wiring before starting the installation. Determine the location of the lights and the path of the wires. Consider the distance between the lights and the power source, as well as any obstacles that may need to be bypassed. Sketch out a wiring diagram to visualize the layout and ensure the circuit is correctly designed.
Installing the Wiring
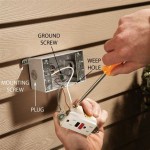
Start by installing the electrical box that will house the transformer. Secure the box to the underside of the deck or near an existing electrical outlet. Run the wires from the electrical box to the locations of the lights. Use appropriate fasteners, such as wire staples or cable ties, to secure the wires to the joists or other structural supports. Avoid running wires over sharp edges or where they may be exposed to damage.
Connecting the Lights
Connect the wires to the lights according to the manufacturer's instructions. Ensure the polarity is correct by connecting the black wire to the positive terminal and the white wire to the negative terminal. Use water-resistant wire connectors or crimping tools to create secure connections. Cap off any unused wires with electrical tape to prevent accidental contact.
Testing and Troubleshooting
Once the wiring is complete, restore power to the circuit and test the lights. If any lights fail to illuminate, check the connections and ensure the bulbs are properly installed. Use a voltage tester to verify that the circuit is live and delivering the correct voltage to the lights. If problems persist, seek professional assistance from an electrician.
Maintaining Outdoor Deck Lights
Regular maintenance is essential to ensure the longevity and safety of your outdoor deck lights. Inspect the lights and wiring regularly for any damage or loose connections. Clean the fixtures with a damp cloth to remove dirt and debris. Replace any bulbs that burn out promptly, and consider using energy-efficient LED bulbs to save energy and reduce maintenance.

How To Install Low Voltage Outdoor Deck Lighting Diy Plans

How To Install Low Voltage Outdoor Deck Lighting

How To Install Deck Lighting Using Edison Outdoor String Lights
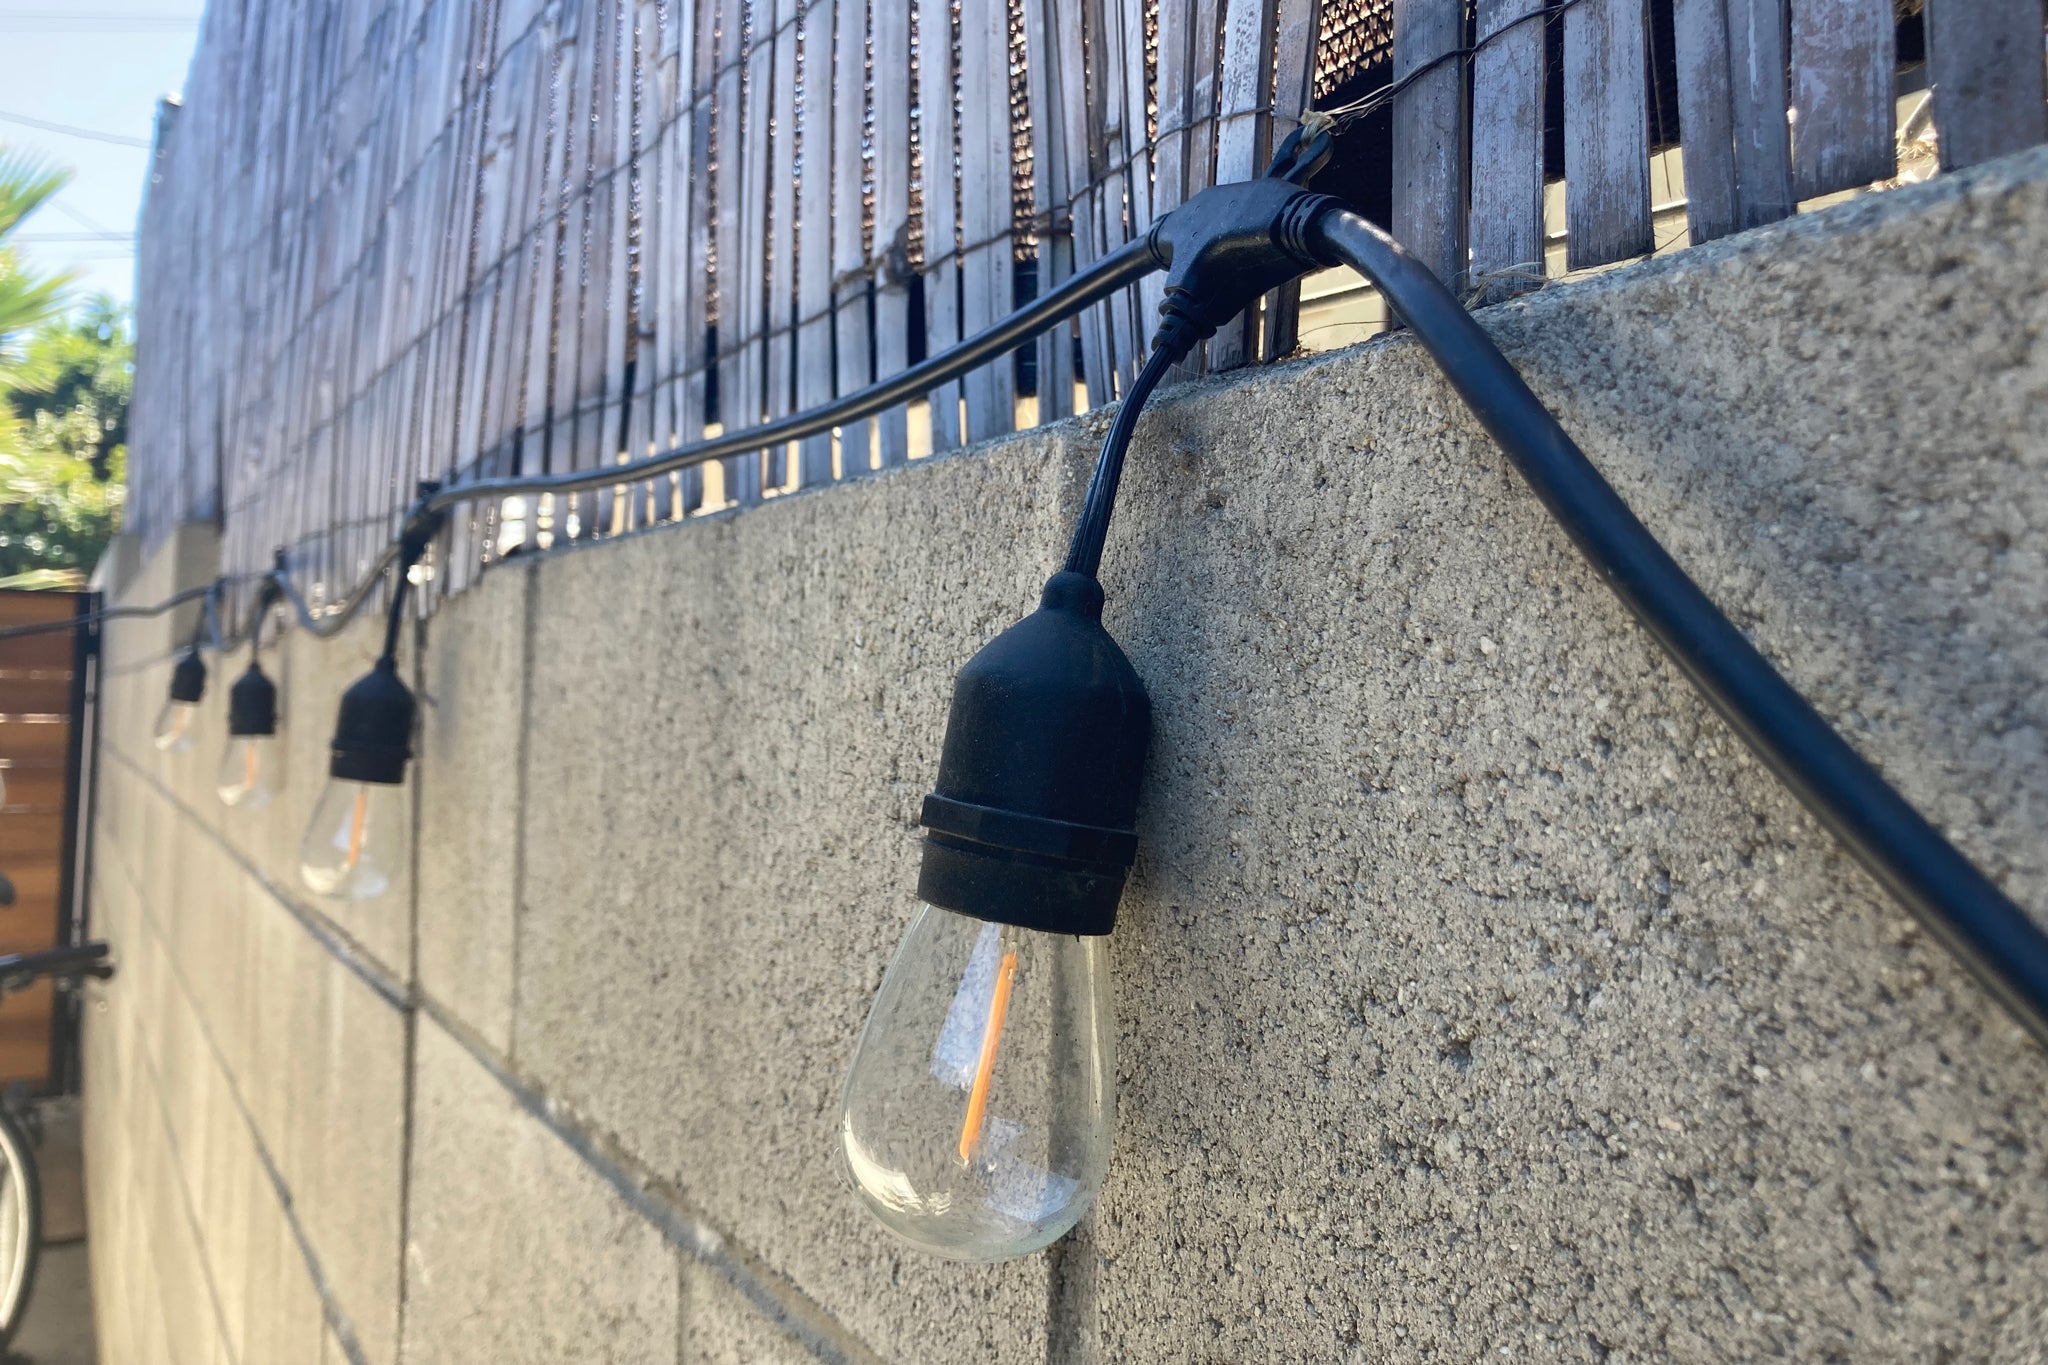
How To Hang Outdoor String Lights And Make Them Look Good Wirecutter
How To Hang Patio Lights

How To Install Outdoor Deck Rail And Stair Lighting By I

How To Install Low Voltage Outdoor Deck Lighting Diy Plans

How To Hang Outdoor String Lights And Make Them Look Good Wirecutter
How To Install Deck Lighting Diy Family Handyman

How To Hang Patio Lights
Related Posts
