Wiring an Outdoor Light: A Comprehensive Guide
Outdoor lighting not only enhances the aesthetic appeal of your property but also provides safety and security. Wiring an outdoor light might seem daunting, but with proper guidance, it can be a manageable task. This article provides a step-by-step guide to help you successfully wire an outdoor light.
Materials Required:
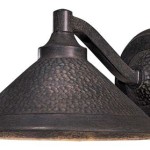
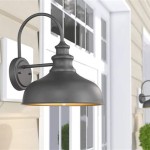
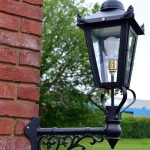
- Outdoor light fixture
- Electrical wire (14-gauge or 12-gauge depending on fixture wattage)
- Electrical tape
- Wire strippers
- Screwdriver
- Electrical box
- Outdoor light sensor (optional)
Step 1: Choose the Location
Select the desired location for your outdoor light. Consider factors such as proximity to an electrical source, accessibility for maintenance, and the area that needs illumination.
Step 2: Install the Electrical Box
An electrical box provides a safe enclosure for the electrical connections. Mount the box securely on a wall or post using appropriate screws. Ensure the box is level and has enough space for the wire connections.
Step 3: Run the Electrical Wire
From the nearest electrical source (e.g., an outlet or junction box), run the electrical wire to the location of the light fixture. Use non-metallic (Romex) wire and ensure it has enough length for connections.
Step 4: Connect the Wires
Strip the ends of the electrical wires (about 1/2 inch) and connect them to the corresponding terminals on the light fixture. Neutral wire (usually white) goes to neutral, hot wire (usually black) goes to hot, and ground wire (usually green or bare) goes to ground.
Step 5: Seal the Connections
Wrap the electrical connections with electrical tape to insulate and protect them from moisture and corrosion.
Step 6: Mount the Light Fixture
Position the light fixture over the electrical box and secure it using the provided screws or bolts.
Step 7: Install the Outdoor Light Sensor (Optional)
If desired, install an outdoor light sensor to automate the light's operation based on daylight conditions. Connect it according to the manufacturer's instructions.
Step 8: Test the Light
Turn on the power source and test the operation of the outdoor light. Ensure it illuminates as intended and that there are no loose connections or flickering.
Additional Tips:
- Hire a qualified electrician if you are not confident in your electrical skills.
- Always follow local building codes and electrical safety guidelines.
- Use weatherproof materials to protect the light fixture and connections from the elements.
- Inspect and maintain the outdoor light regularly to ensure its continued functionality and safety.

How To Wire A Light Switch And Outside Together Ehow

Outdoor Low Voltage Lighting Diy Family Handyman

How To Replace An Outdoor Light

Wire 4 Outdoor Lights With One Switch Diy Home Improvement Forum

How To Replace An Outdoor Light

Replacing An Outdoor Light Fixture

Electrical Wiring From A Photocell To An Outdoor Led Floodlight Or Reflector 110v Devices

How To Wire Motion Sensor Occupancy Sensors

Wiring And Installing Exterior Lighting

Home Improvement How To Remove Replace Outdoor Light Fixtures Porch Driveway Etc