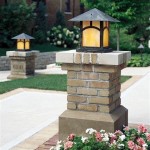
How to Install a New Outdoor Security Light
Security lighting plays a vital role in deterring crime and ensuring the safety of your property. Installing a new outdoor security light can be a simple yet effective way to enhance the security of your home or business. With careful planning and proper techniques, you can achieve professional-looking results while saving on installation costs.
1. Choose the Right Location
Selecting the optimal location for your security light is crucial. Consider areas that need illumination, such as entry points, driveways, patios, or dark corners. Ensure the light source provides a clear view of the desired area without casting shadows or blinding glare. Also, consider the height of the fixture and the angle of the beam to achieve effective coverage.
2. Select a Suitable Fixture
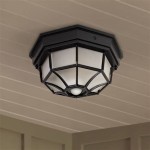
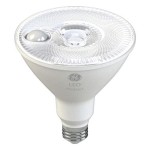
Outdoor security lights come in various styles and configurations. Choose a fixture that complements the architectural style of your property and provides the desired level of illumination. Consider factors such as the wattage, light output (lumens), and beam pattern. Also, select a fixture that is rated for outdoor use and is weather-resistant to withstand various weather conditions.
3. Prepare the Wiring
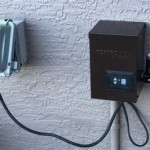
Before installing the security light, you need to determine the power source and prepare the wiring accordingly. Check if there is an existing electrical box at the chosen location or plan to install one. Run the appropriate electrical wire from the power source to the location and terminate it in the electrical box.
4. Mount the Fixture
Follow the manufacturer's instructions carefully to mount the security light fixture. Typically, this involves attaching the mounting bracket to the electrical box and then securing the light fixture to the bracket. Ensure that the fixture is securely fastened and properly aligned to provide the desired illumination.
5. Connect the Wiring
Once the fixture is mounted, proceed to connect the electrical wiring. Match the colored wires (black, white, and green) from the fixture to the corresponding wires in the electrical box. Twist the wires together securely and use wire nuts to insulate the connections. Push the wires neatly into the electrical box and secure the cover plate.
6. Test and Adjust
After completing the electrical connections, switch on the power and test the security light. Verify that it is functioning correctly and providing adequate illumination. If necessary, adjust the beam angle or direction to optimize coverage and minimize light pollution.
By following these steps carefully, you can successfully install a new outdoor security light that will enhance the safety of your property and provide peace of mind.

Led Security Lights The Ultimate Guide To Home Safety

4 Tips For Outdoor Security Lighting Haas Sons

Installing Outside Security Lights Costs

Installing A Motion Sensor Light Fine Homebuilding

Outdoor Security Lights Installed Home Garden Lighting

Onforu 65w 3 Head Led Motion Sensor Flood Light Ip65 Waterproof

Awsens 3 Light White Outdoor Integrated Led Security Flood Wall Or Eave Mount Aw5083 Wh The Home Depot

How To Buy Outdoor Security Lights For Your Garden Saga

Defiant 180 Degree Motion Sensor White Outdoor Security Light Df 5416 Wh A The Home Depot

Best 100w Dusk To Dawn Outdoor Security Lights Imaihom
Related Posts

