How to Install Low Voltage Outdoor Lighting: A Comprehensive Guide
Enhance the ambiance and security of your outdoor space with low voltage outdoor lighting. This guide provides step-by-step instructions to help you plan, install, and maintain your low voltage lighting system effectively.
1. Plan Your Lighting Design
Before starting the installation, determine the areas you want to illuminate and the desired effects. Consider the size, shape, and features of your outdoor space. Plan the placement of fixtures, the type of lighting, and the wattage required to achieve the desired brightness.
2. Choose the Right Lighting Fixtures
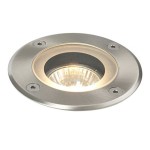
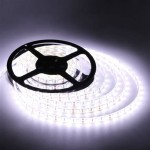
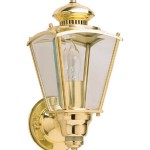
Select lighting fixtures designed for outdoor use and compatible with low voltage systems. Choose fixtures that provide the desired light output, color temperature, and style. Consider factors such as durability, weather resistance, and ease of installation.
3. Purchase the Necessary Equipment
In addition to the lighting fixtures, you will need the following equipment:
- Low voltage transformer: Converts standard AC voltage to low voltage.
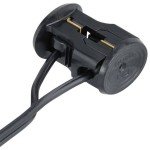
- Landscape wire: Connects the fixtures to the transformer.
- Wire nuts: Secure electrical connections.
- Trench digger: To bury the wires underground.
- Electrical tape: For insulation and protection.
4. Install the Transformer
Select a location for the transformer near an electrical outlet. Mount the transformer securely on a wall or post using the provided bracket. Connect the transformer to the power source.
5. Bury the Wires
Dig trenches approximately 6 inches deep and 12 inches wide. Lay the landscape wire in the trenches and secure it using wire stakes. Bury the wires at least 6 inches underground to protect them from damage.
6. Connect the Fixtures
Connect the lighting fixtures to the landscape wire using wire nuts. Strip the ends of the wire and twist them together firmly. Secure the connections with wire nuts and apply electrical tape for insulation.
7. Mount the Fixtures
Follow the manufacturer's instructions to mount the lighting fixtures in their desired locations. Use screws or bolts to secure the fixtures firmly. Adjust the fixtures to the desired angles and heights.
8. Test the System
Once all the fixtures are connected, turn on the transformer and check if the lights are working properly. Make any necessary adjustments to the connections or fixture positions.
9. Maintenance and Troubleshooting
Regular maintenance will ensure your low voltage outdoor lighting system performs optimally. Check the wires for damage and repair any breaks. Clean the fixtures and bulbs periodically to maintain brightness. If any lights fail to turn on, check the connections, replace bulbs, or consult a licensed electrician.
By following these steps, you can confidently install and maintain a low voltage outdoor lighting system that illuminates your outdoor space, enhances its ambiance, and provides added security.

How To Wire Outdoor Low Voltage Lighting Part 2

How To Install Low Voltage Landscape Lighting System World Leader In Cables

The Easiest Way To Install Low Voltage Landscape Lighting Abby Organizes

How To Install Low Voltage Outdoor Landscape Lighting 1000bulbs Blog

How To Install Low Voltage Outdoor Landscape Lighting

How To Install Low Voltage Outdoor Deck Lighting

Wiring Installation Coastal Source

How To Install Low Voltage Outdoor Landscape Lighting The Garden Glove

How To Install And Wire Low Voltage Outdoor Landscape Lighting

How To Wire Outdoor Low Voltage Lighting Part 3
Related Posts
