How To Install A Timer For Outdoor Lights
Whether you're looking to boost security or add convenience to your outdoor space, installing a timer for your outdoor lights is a great option. Here's a comprehensive guide to help you understand the process and ensure a successful installation:
Materials Required:
- Outdoor light timer
- Electrical tape
- Wire strippers
- Screwdriver or drill
- Electrical box (if needed)
Safety Precautions:
Before beginning any electrical work, ensure you have proper safety gear:
- Wear gloves and safety glasses.
- Turn off the power at the breaker box before handling wires.
- Verify the wires are de-energized using a voltage tester.
Step-by-Step Guide:
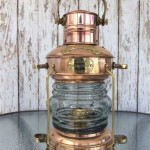
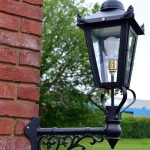
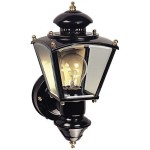
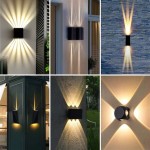
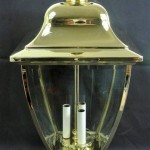
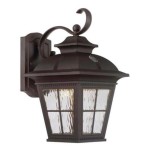
- Determine the Light Fixture: Identify the outdoor light fixture you want to control with the timer.
- Disconnect Power: Turn off the breaker corresponding to the light fixture you're working on.
- Remove the Light Fixture: Unscrew the light fixture from the mounting bracket or junction box.
- Identify the Wires: You'll typically find three wires – black (hot), white (neutral), and green (ground).
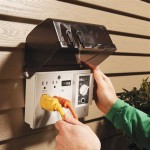
- Install the Electrical Box (Optional): If there's no electrical box near the light fixture, you'll need to mount one to house the timer.
- Attach the Timer: Mount the timer inside the electrical box or directly to the junction box. Ensure it's securely fastened.
- Connect the Wires: Strip about 1/2 inch of insulation from the ends of the wires. Connect the black wire from the light fixture to the black wire from the timer. Do the same for the white wires. Connect the green wires together and secure them with a wire nut.
- Insulate the Connections: Wrap electrical tape around all wire connections to insulate them.
- Reinstall the Light Fixture: Screw the light fixture back onto the mounting bracket or junction box.
- Restore Power: Turn the breaker back on at the breaker box.
- Set the Timer: Adjust the dials or buttons on the timer to set the desired on and off times for the light fixture.
Tips:
- Choose a timer that's compatible with your outdoor light fixture and electrical system.
- Consider using a photocell timer that automatically adjusts the on/off times based on daylight levels.
- Protect the timer from moisture and direct sunlight by installing it in a weather-resistant enclosure.
- Regularly inspect the timer and connections to ensure they're in good condition.
Conclusion:
Installing a timer for outdoor lights is a simple and effective way to enhance both convenience and security. By following these steps and adhering to safety precautions, you can successfully complete the installation and enjoy the benefits of automated outdoor lighting.

Easy To Install Programmable Timer The Lady Diy

3 Easy Ways To Use A Light Timer Wikihow

Installing A Timer

32648 Defiant 7 Day In Wall Timer Installation And Setup

How To Install A Timer Switch In Outdoor Lighting Doityourself Com

How To Put Outdoor Lights On A Timer Electronicshub

Install The Hb11k Outdoor Heavy Duty Plug In Timer From Intermatic This Season

I Am To Be Wiring A Woods Indoor Outdoor Time Switch Multi Volt Model 59396 59399 30 Automatically Turn On

The Best Outdoor Light Timer It S A Must Have Home Gadgets Diy Improvement Driven By Decor

Our Home From Scratch
Related Posts