How to Connect Outdoor Lighting
Creating an inviting and well-lit outdoor space is made possible with outdoor lighting. Whether you want to extend your living area, illuminate paths and steps for safety, or just add some aesthetic flair, connecting outdoor lighting is not difficult. Here are some important considerations when wiring outdoor lighting:
Safety First
Always follow the manufacturer's instructions and local building codes when working with electricity. Turn off the power at the breaker before starting any electrical work, and use appropriate safety gear such as gloves and safety glasses.
Wiring Options
Choose the appropriate wiring method based on your specific needs and landscape design. Burying wires underground offers a more permanent and discreet solution, but digging trenches can be time-consuming. Alternatively, using low-voltage cable above ground is easier and more flexible, but requires proper weatherproofing.
Selecting the Right Fixtures
Outdoor lighting fixtures should be rated for outdoor use and withstand moisture and environmental conditions. Consider the type of light fixtures, such as path lights, spotlights, or hanging lanterns, that best suit your design concept and desired lighting effect.
Installing the Fixtures
Follow the manufacturer's instructions for proper installation of light fixtures. Dig holes and secure the bases securely in the ground for path lights. Mount spotlights or hanging lanterns on walls or suitable structures.
Connecting the Wires
Connect the wires from the fixtures to the power source, using waterproof wire connectors. Strip the ends of the wires and secure them inside the connectors by twisting them together and tightening the screws. Ensure proper polarity by matching black (or red) to black, and white (or blue) to white.
Joining Multiple Fixtures
When connecting multiple fixtures, use a junction box to create a central connection point. Join the wires from each fixture to the appropriate terminals in the junction box, following the same polarity guidelines.
Testing and Troubleshooting
Once the connections are complete, turn on the power and test the lighting system. If a fixture doesn't light up, check the connections, the bulb, and the power source. If necessary, refer to the manufacturer's instructions for further troubleshooting.
Additional Tips
- Use landscape lighting as a design element to accentuate features and create a unique ambiance.
- Consider using a timer to automatically turn on and off the lights at specific times.
- Maintain your outdoor lighting system by regularly checking for loose connections, damaged wires, or burnt-out bulbs.
Conclusion
Connecting outdoor lighting can enhance your outdoor space, providing both safety and aesthetics. By following these steps and safety precautions, you can create a well-lit and inviting outdoor environment to enjoy all year round.

Ways To Install Landscape Lighting

Outdoor Low Voltage Lighting Diy Family Handyman
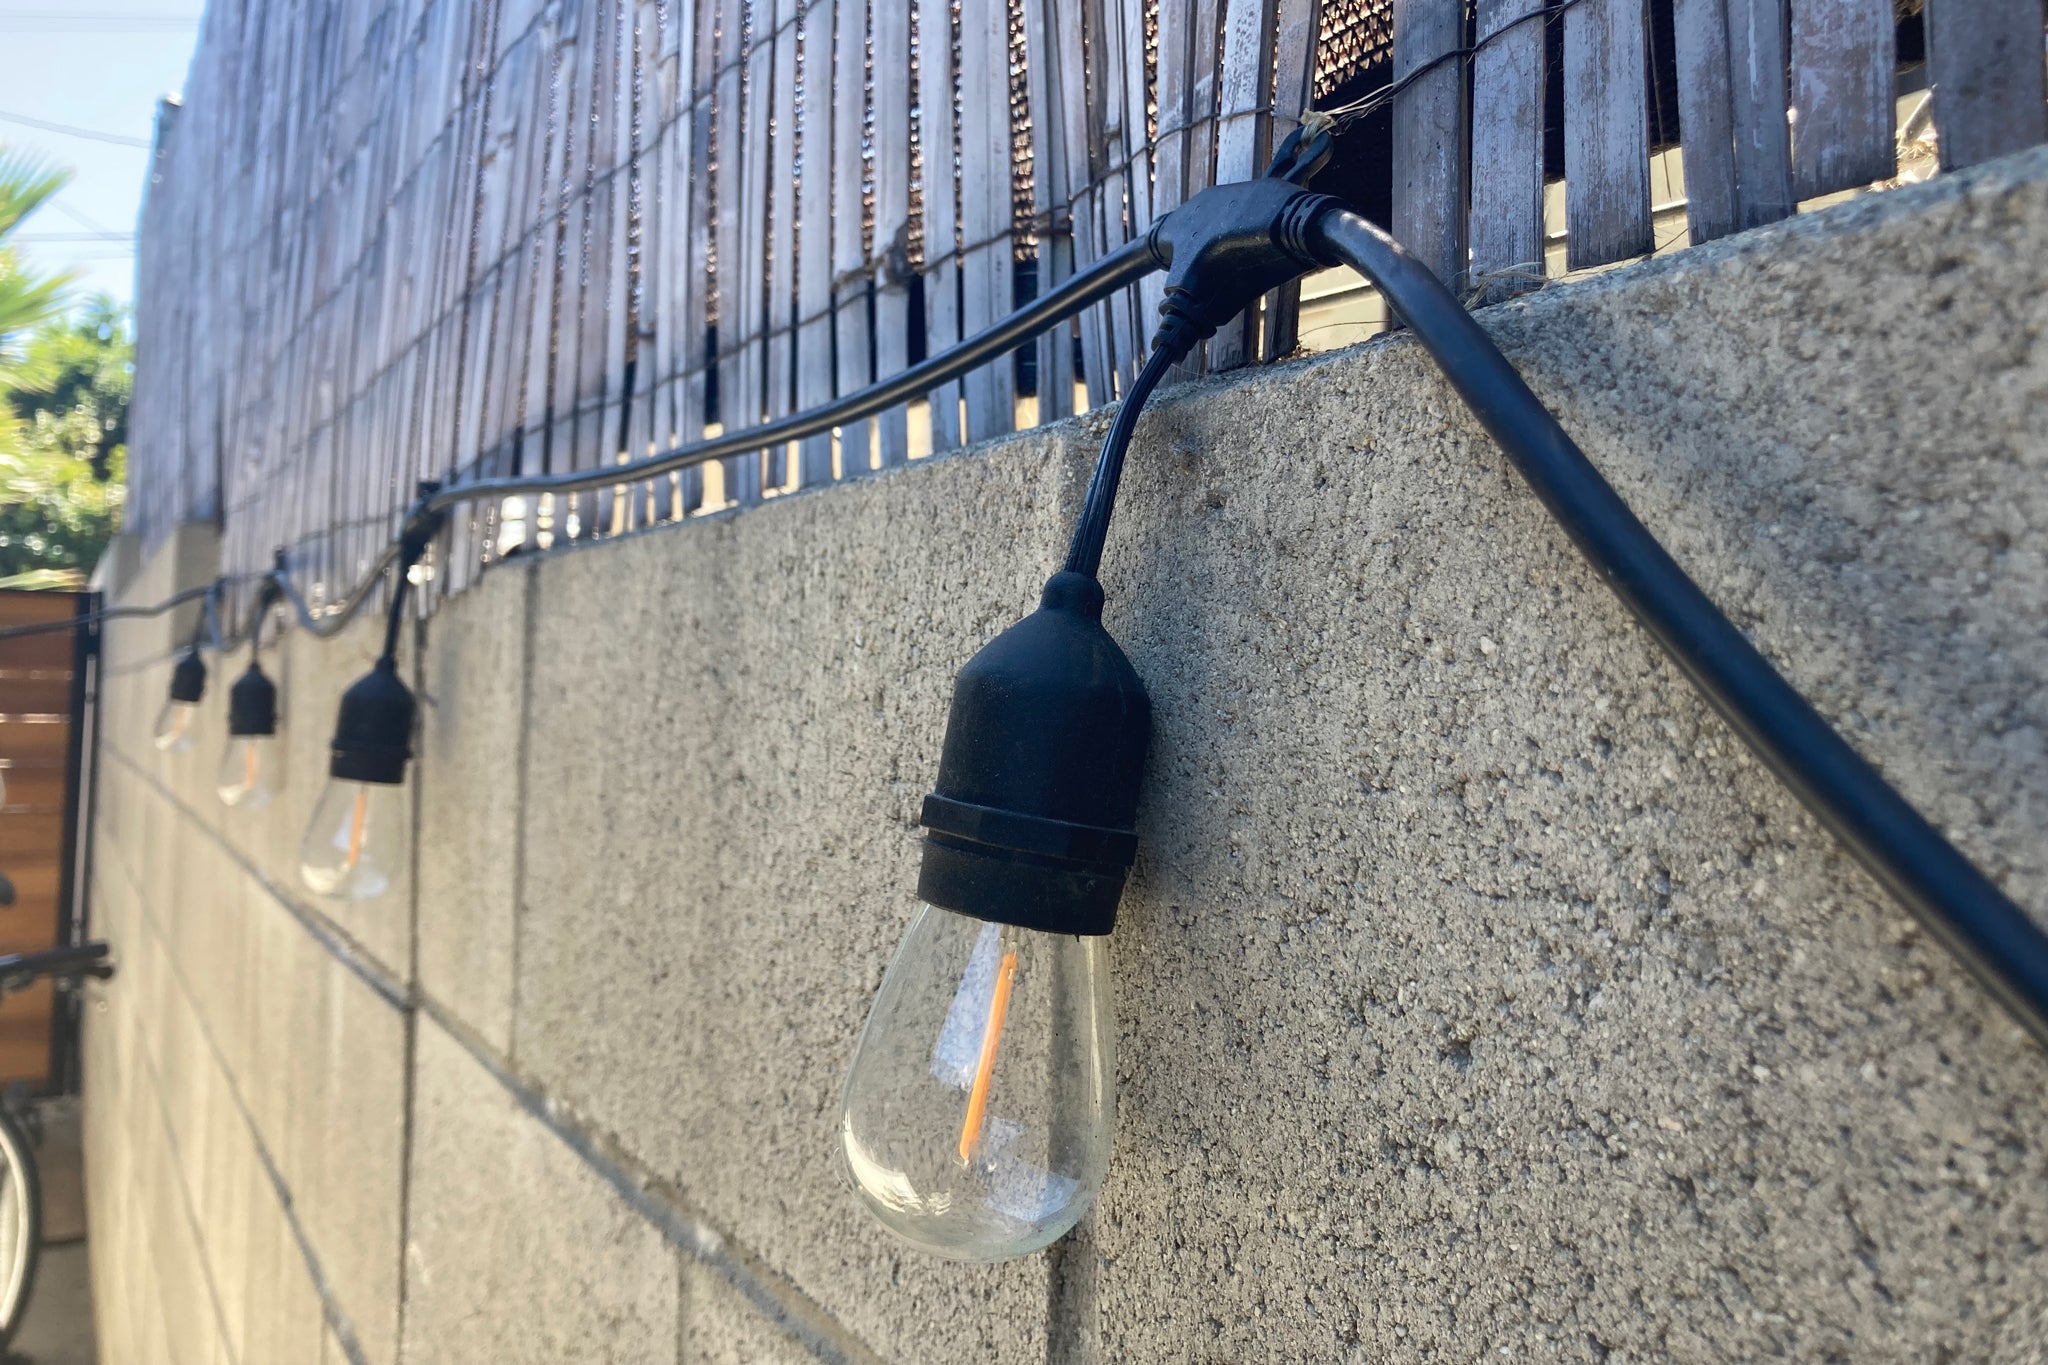
How To Hang Outdoor String Lights And Make Them Look Good Wirecutter

How To Hang Outdoor String Lights And Make Them Look Good Wirecutter

Using A Cable To Hang String Lights Concord Carpenter

How Do You Connect Your Low Voltage Outdoor Lights Garden Landscape Lighting

Using A Cable To Hang String Lights Concord Carpenter

Adding Landscape Lighting

How To Setup Programing Trouble Shooting The Hampton Bay Low Voltage Lanscape Transformer

The Easiest Way To Install Low Voltage Landscape Lighting Abby Organizes
Related Posts
